Showing posts with label crafts. Show all posts

Friday, February 18, 2011

Dance bag Tutorial and GIVEAWAY!-CLOSED

 When Lucy started dance again back in the fall,
she needed new tap shoes, ballet shoes, tutus, tights, and of course leotards!
I couldn't believe that in one summer she outgrew everything!
With all this fancy schmancy dance attire, she had to have  could use a new bag, right?
I must warn you, if you were looking for a difficult dance bag tutorial, 
you are in the wrong place
I made 2 of these, 1 for Lucy, and of course one for Marin.
These girls get crazy compliments on these bags and have even sold a few
Supplies needed:
White tote bags (You can find a 3 pack at Hobby Lobby for $6.99)
Tulle of any color
Coordinating Ribbon
Hot Glue (and Gun :o))
I have an embroidery machine so I decided to embroider Lucy's name
If you decide to do the same, or have someone do it for you, Make sure this is your first step
You don't want the tulle to get tangled or malled
Step 1
Lay out your bag of choice and the tulle
Tulle is extremely difficult to work with 
I find that when it comes to tulle be as simple as possible
I folded over the tulle several times to make it fuller and the right size
Pin the tulle to the bag starting in the middle
I wanted a cleaner look for this bag so I pinned the tulle straight
If you want a "rufflier" bag, pleat every 2 inches
Is rufflier a word? It should be!
sew with a straight stitch
Don't worry about making it perfect, you'll cover with the ribbon 
It should look like this
Now that you have the tulle sewn, pull out your ribbon
You can sew this on or use your Hot Glue
I prefer to sew since it is being carried by kids

Sew a straight stitch on top, and on the bottom
Set the bag to the side
Take your ribbon and make a bow
You can find that tutorial here
Glue your bow to the center of the ribbon
Since I take the easy way out when working with tulle and fold it to make it fuller,
you will want to cut it to make it fluffy
You can see in the picture below where to cut


 Here you go! I love the leopard with the pink
This is fun for holidays too. 
Now for the GIVEAWAY!
Yay! My first one!
This bag can be yours!


Here are the rules:
1. Become a follower and leave a comment saying you are
(leave a comment if you always have been)
2.Blog about the giveaway and leave a comment letting me know


Visit thecsiproject.com

Saturday, February 5, 2011

Butterfly Bow Tutorial

Hair bow tutorials seem to be so secretive on the internet
I guess thats because it is the most sold item at small town festivals

I know how to make them, and I still buy them!
I was making several for some of Lucy's new outfits and thought I would share with you

Items Needed:
Ribbon
Hair Clip (you can use alligator or clamp style)
No Fray
Thick thread
Hair Clip (they kind beauty salons use)
Hot Glue Gun and Glue


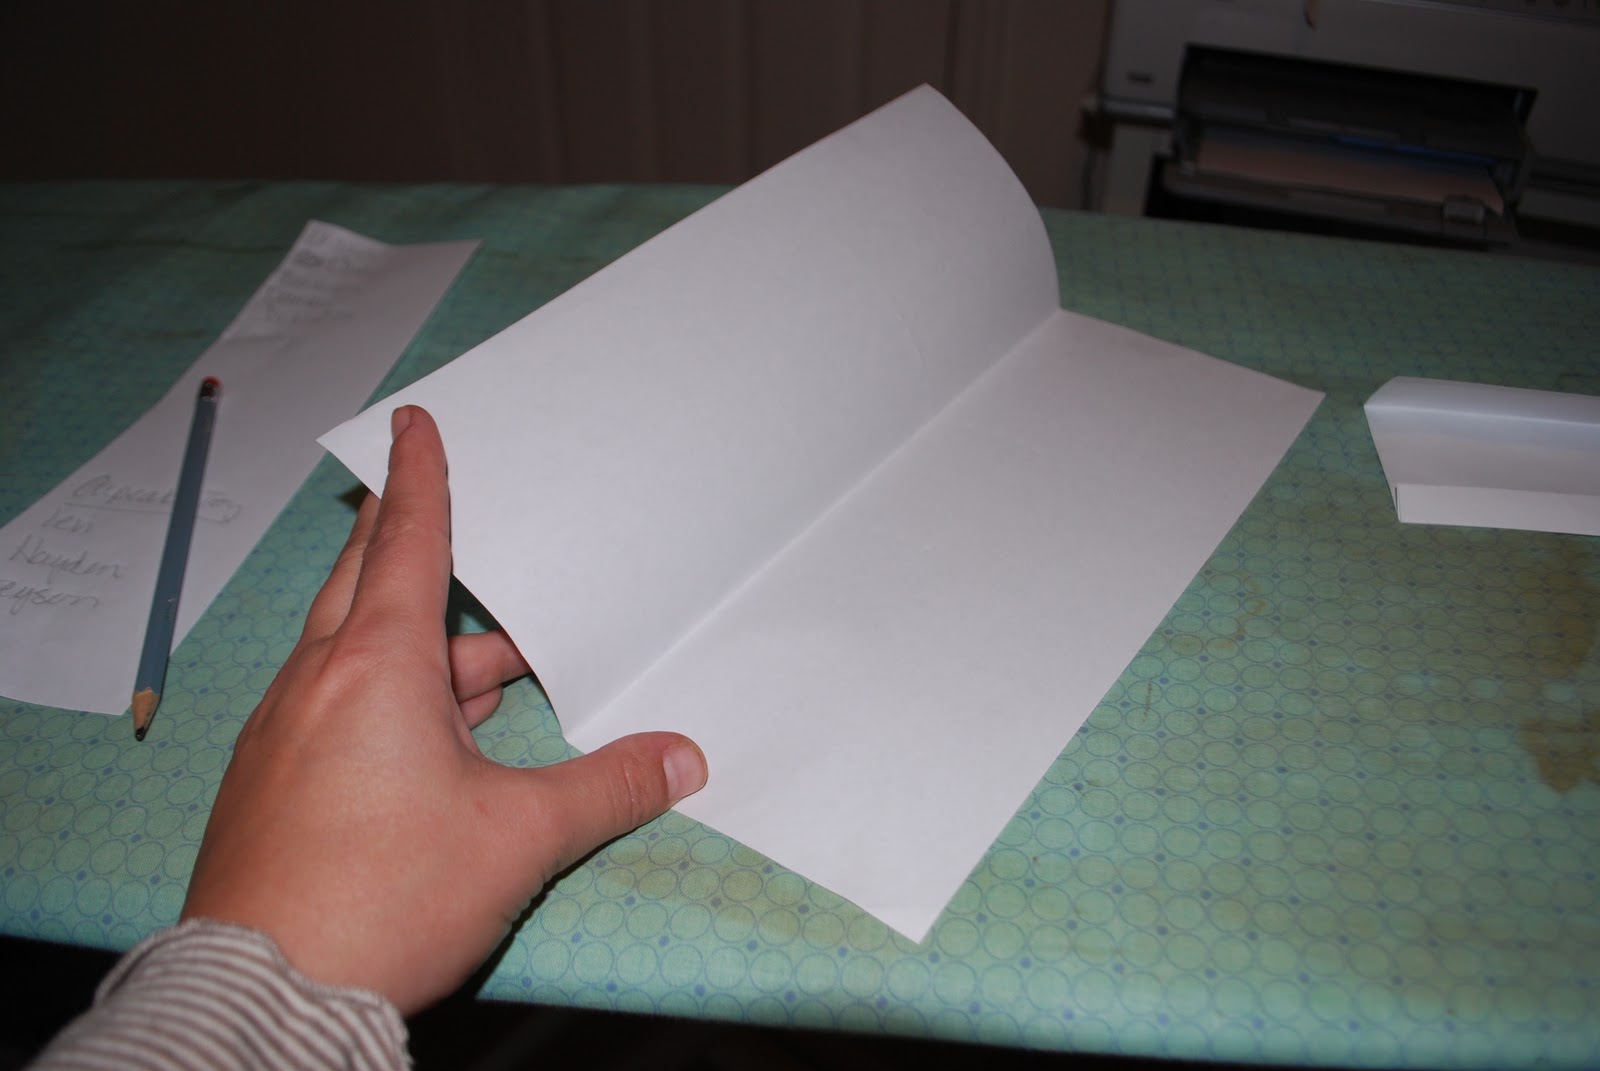
First, you want to measure your ribbon. I usually cut mine around 38 inches


Fold your ribbon as shown


Then, fold the other side. This is where you can eyeball it 
to make sure that the sides are even


Take the center of the right side of the ribbon and pull down to the middle


Do they same to the other side, and secure with the Hair Clip
You can see the Butterfly take shape here


Take your heavy thread and pull it through the hair clip as shown


Pull the thread tightly and slowly being sure not to snap it
And secure it with a knot


Now its time to start on the middle piece
Because I didn't have a smaller coordinating ribbon on hand I made my own

Take a small piece of ribbon and a thin line of hot glue


Fold 1/2 over, then repeat until you have a smaller ribbon


On the front of the bow add a small dot in the middle
and add the small piece of ribbon


Flip over and glue your choice of clip
I chose to use a barrette clip


Open the clip and remove the center so you can glue the other side of ribbon


Cut your ends.....


Add a little Fray block.....


And Voila!


Don't forget to come back on Monday to check out 
my Faux Health, Faux Real Series


I'll be linking here

Thursday, December 16, 2010

Handmade Gifts (Part 3)

We are now in the final Day of out 3 part series
You have to get started on your gifts!
We are 1 week away!

This is another easy one
I know there are so many versions on Blogland so I wanted to share mine

You want to start with a nice frame
This particular one come from Michaels
at 50% off with an additional 25% coupon makes the final price $3.45---SCORE!

Grab your chalkboard paint
A lot of people prefer the spray paint form
I like this particular kind from AC Moore
It comes in a ton of colors, you'll see that soon


I then take the glass out and use it as a template to measure the foam board

Paint your foam board
Pop it back into the frame (without glass of course)

And there you have it!


I used Command Strips to hang it from my Refrigerator
I love how it looks on my Fridge, I hope the recipient does too!


Tuesday, December 14, 2010

Handmade Gifts (Part 1)

With Christmas just a mere week and a half away all of our 
Christmas shopping should be complete, right?

Well if most of you are like me you always leave a few to the last minute

This year I decided to save money (not time) 
by creating my own gifts

Lucy now has 8 cousins and 1 on the way so I needed something sure to please them all

For the 5 older kids I made these Art Kits


I first started with some scrap fabric
and made a mini version of the crayon roll
I have never made a crayon roll or even attempted to be honest
Its seems way above my sill level

I started by making a pattern out of paper

I first folded 2 pieces of paper in 1/2

I put the first to the side
The 2nd one was cut in 1/2 to a measurement of 5 1/2 inches
You can see where I folded the paper as if I were hemming it


I took the 2nd piece and slid it into the opening of the folded piece

Once I had the idea in my head, I was able to cut my fabric with the pattern
I sewed the first piece as if it were a pillow leaving one of the longer sides open
Folded it back to the right side

I then took the 2nd piece and slid it into the opening


 I then folded it leaving about 1 inch in the "pocket"
By leaving about 1 inch inside, it gave about 3 inches on the outside for the real pockets

I stitched around the entire square, then I made vertical lines to make the slots

With a little velcro, I attached it to the inside of the bucket

I also used a little Chalkboard paint on the outside to write their names

I put scissors, a few crayons, paint, paper, stickers, chalk and glue

Lucy made some candy and will put that in there too.

Then entire project cost $18 for 6 kits!!!!

I'll be linking to 


www.simplysweethome.com.png

978446896_kPVcp-O.png

Thursday, December 2, 2010

You melt my heart

Every year since Lucy was born, we make "handmade" ornaments
You know the kind, the hand print hanging on the tree.
They are still my favorite, so we will probably still do them

But- for now, I decided to make it more fun for Lucy
While browsing Michael's earlier today we saw ball ornaments

They were plastic!!! Have I been living under a rock?!?!
I thought they were all made out of glass!!!!

We decided on the melted snowman 
Here is what you need:
glue
Ornament balls
glitter
some felt
sticks (from the yard)
paper
tooth pick ( I used mini skewers I had laying around)

And if you are lucky enough to have one of these.....
I had Lucy squeeze the glue into the hole,
shake around the glitter until you have a blob
Use your toothpick to arrange the hat, scarf, buttons, and nose etc.
I used felt because I like the way it made it look a little more real
Because melted snowman in a globe are so common and real, right?

She had a blast, however the attention span of a soon to be 3 year old is short
We only completed 2 of the 4
There is always tomorrow!

I still need to had the "you melt my heart" tag
Just not sure what I want yet
What do you think?


cg-holiday-button1.jpg