Showing posts with label tutorials. Show all posts

Tuesday, March 27, 2012

Pottery Barn Pendants

Since moving into our new home, I have been a little overwhelmed with decorating. I'm normally not so indecisive, but for some reason I have turned into someone who is scared. You know that person, the person that won't refinish furniture, change pillows, paint, etc. 
THIS IS NOT ME!! I have no idea what has come over me. One thing I knew that I wanted was the awesome Pottery Barn Pendants

Realistically, for lights, not a bad price at $99 a light. In fact I was bidding on some on ebay for $60 a light. But once we moved I felt that money would be better used on other things....more to come on that.
We were given the same lights I think every builder uses

So I made my way to Home Depot, and found some clear shades for only $8.97!
Some great antique bulbs for also $8.97
Some RustOleum Spray Paint in Antique Bronze


I love how they turned out! It adds the right amount of soft lighting and rustic appeal. The entire project cost me around $41. Much better than the $198 for 2 at PB!

{C}

Saturday, February 5, 2011

Butterfly Bow Tutorial

Hair bow tutorials seem to be so secretive on the internet
I guess thats because it is the most sold item at small town festivals

I know how to make them, and I still buy them!
I was making several for some of Lucy's new outfits and thought I would share with you

Items Needed:
Ribbon
Hair Clip (you can use alligator or clamp style)
No Fray
Thick thread
Hair Clip (they kind beauty salons use)
Hot Glue Gun and Glue


First, you want to measure your ribbon. I usually cut mine around 38 inches


Fold your ribbon as shown


Then, fold the other side. This is where you can eyeball it 
to make sure that the sides are even


Take the center of the right side of the ribbon and pull down to the middle


Do they same to the other side, and secure with the Hair Clip
You can see the Butterfly take shape here


Take your heavy thread and pull it through the hair clip as shown


Pull the thread tightly and slowly being sure not to snap it
And secure it with a knot


Now its time to start on the middle piece
Because I didn't have a smaller coordinating ribbon on hand I made my own

Take a small piece of ribbon and a thin line of hot glue


Fold 1/2 over, then repeat until you have a smaller ribbon


On the front of the bow add a small dot in the middle
and add the small piece of ribbon


Flip over and glue your choice of clip
I chose to use a barrette clip


Open the clip and remove the center so you can glue the other side of ribbon


Cut your ends.....


Add a little Fray block.....


And Voila!


Don't forget to come back on Monday to check out 
my Faux Health, Faux Real Series


I'll be linking here

Tuesday, December 14, 2010

Handmade Gifts (Part 1)

With Christmas just a mere week and a half away all of our 
Christmas shopping should be complete, right?

Well if most of you are like me you always leave a few to the last minute

This year I decided to save money (not time) 
by creating my own gifts

Lucy now has 8 cousins and 1 on the way so I needed something sure to please them all

For the 5 older kids I made these Art Kits


I first started with some scrap fabric
and made a mini version of the crayon roll
I have never made a crayon roll or even attempted to be honest
Its seems way above my sill level

I started by making a pattern out of paper

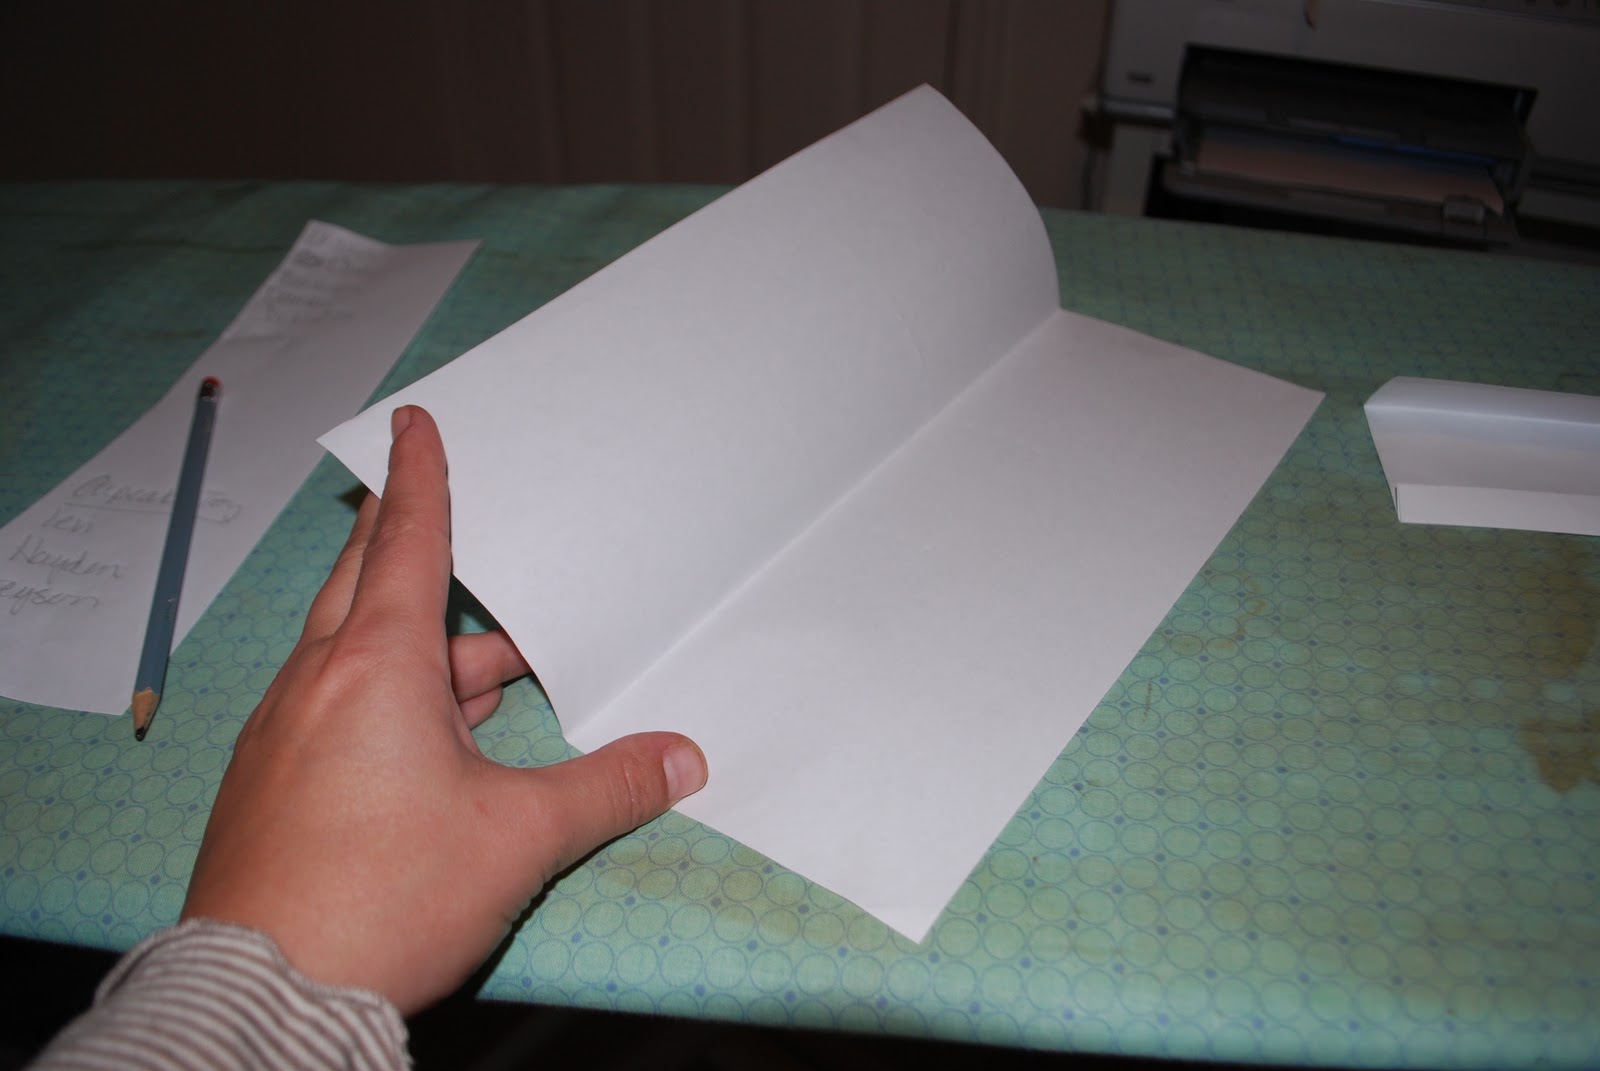
I first folded 2 pieces of paper in 1/2

I put the first to the side
The 2nd one was cut in 1/2 to a measurement of 5 1/2 inches
You can see where I folded the paper as if I were hemming it


I took the 2nd piece and slid it into the opening of the folded piece

Once I had the idea in my head, I was able to cut my fabric with the pattern
I sewed the first piece as if it were a pillow leaving one of the longer sides open
Folded it back to the right side

I then took the 2nd piece and slid it into the opening


 I then folded it leaving about 1 inch in the "pocket"
By leaving about 1 inch inside, it gave about 3 inches on the outside for the real pockets

I stitched around the entire square, then I made vertical lines to make the slots

With a little velcro, I attached it to the inside of the bucket

I also used a little Chalkboard paint on the outside to write their names

I put scissors, a few crayons, paint, paper, stickers, chalk and glue

Lucy made some candy and will put that in there too.

Then entire project cost $18 for 6 kits!!!!

I'll be linking to 


www.simplysweethome.com.png

978446896_kPVcp-O.png

Sunday, December 5, 2010

From Napkins to Pillows

When browsing Pottery Barns Christmas Catalog 
I couldn't get enough of this plaid print
1. I love Plaid
2. Christmas plaid is even better
3. It already matches my Green Sofa and red accent chair

Of course I had to have it!!!!
I went to my local Pottery barn and they only had the green version
Still very cute, but I wanted red
They did however have it in the bigger size but I really had my heart set on 24x24

Since I was heading back home for Thanksgiving
I thought I would try the local PB there
Well, I got the truth about my beautiful plaid pillow....

They were not for sale....EVER!
Can you believe that?
PB decided to not produce the 24x24 pillow cover featured in the catalog
They did however produce Napkins and place mats instead
At least thats what Ms. PB told me

So I bought 4 napkins at $6.50 a piece and thought
"Project Time"

I usually use place mats, they are less expensive and easier but again-
I wanted 24x24


The first thing I did was sew the 2 together
Because of the plaid I wasn't to stressed about it being perfect

Then I flipped it over and connect the 2 ends
Only pin the sides
You want the envelope opening

Sew the sides

And Voila!


The price for one PB pillow cover
If they even existed
$29.00


They cost for mine
$13.00